
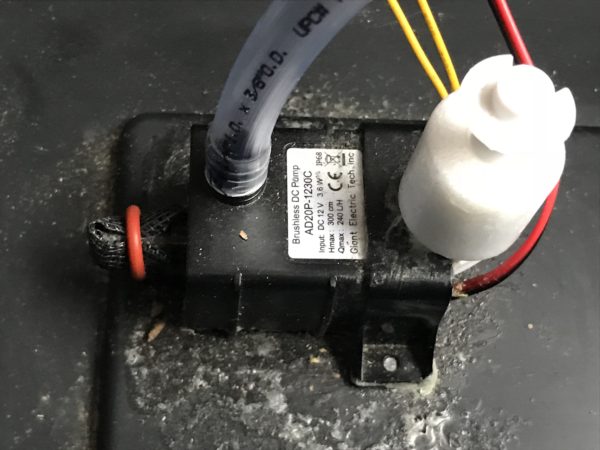
completed DIY submersible pump with level switch subassembly glued to bottom of the a water reservoir
Follow these steps to make a DIY submersible pump level switch assembly. A submersible water pump needs to be submersed in liquid because it will burn out if run dry. Here we will be attaching a water level sensor switch directly above a submersible water pump in order to protect the water pump. Above all we want to ensure the longest possible operational life of the pump. Positioning the level switch directly above the pump will prevent the pump from burning out by not allowing it to run while not fully submersed in water.
Materials Needed to Make a DIY Submersible Pump Level Switch Assembly:
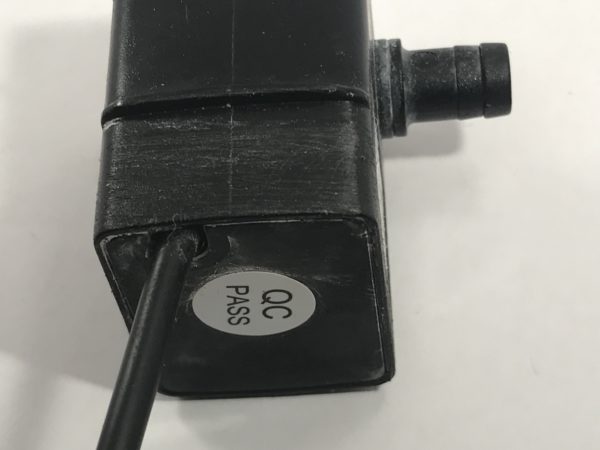
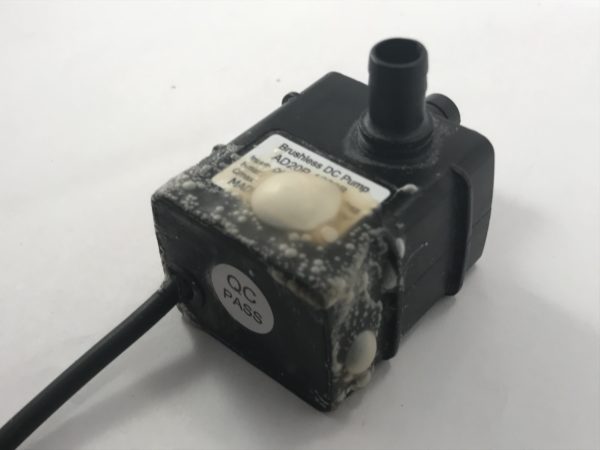
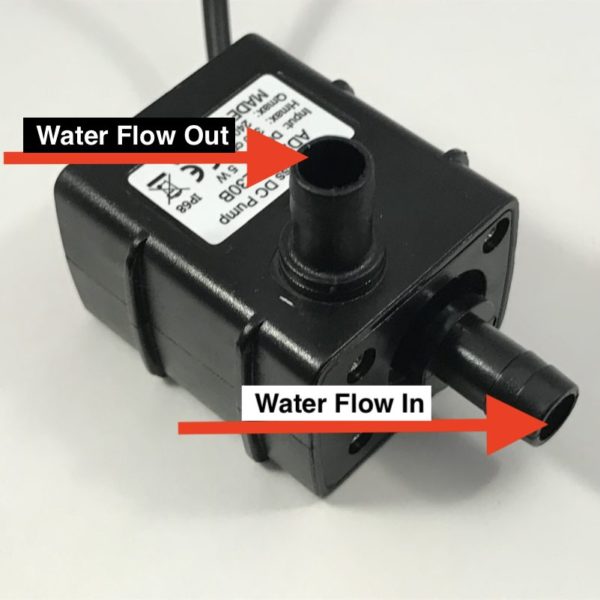
- 12V DC submersible pump and water level sensor switch
- 3M Hi-Strength 90 Spray Contact Adhesive or similar
- sandpaper (optional)
- 1/4″ inner diameter tubing (3/8″ outer diameter tubing)
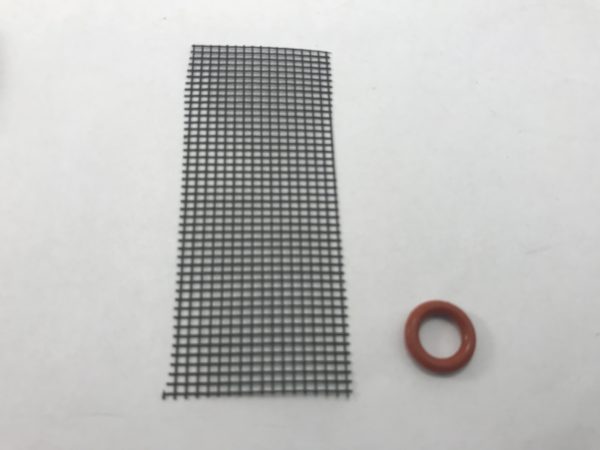
- 1 1/4″ x 2 1/2″ plastic screen for simple pump filter (optional)
Preparing the DIY submersible pump level switch assembly is simple and will only take around 5-10 minutes. The components you will need for this project are below.

Step 1: Scuff the Surfaces of the Submersible Pump and Retaining Clip
- use sandpaper to scuff the underside of the pump (when laying flat) where it will be glued to the reservoir floor

- now scuff the three surrounding sides located at the rear of the pump towards the wiring as show below
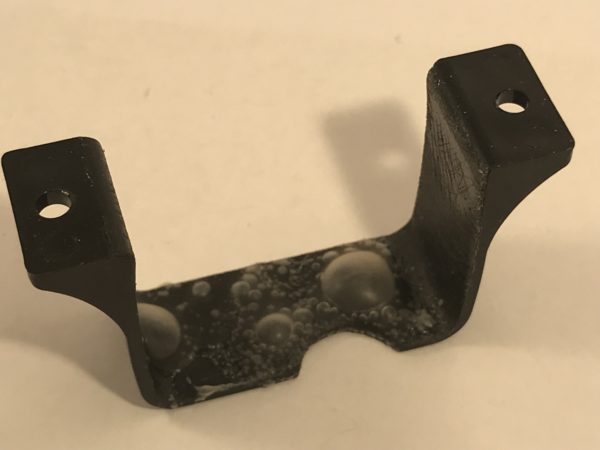
- scruff the underside and top around the hole of the small plastic retaining mounting clip
Step 2: Glue the Level Switch to the Pump Retaining Clip
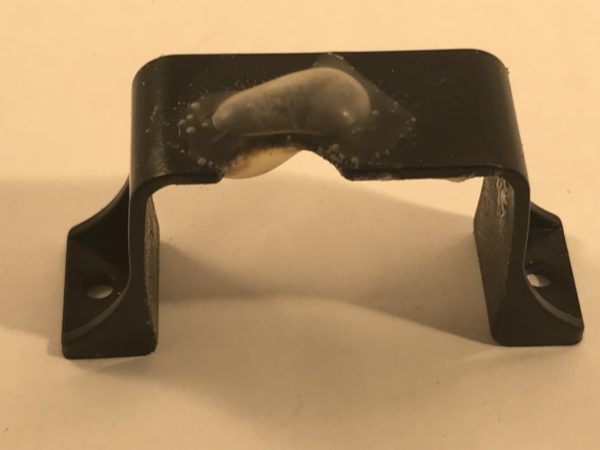
- apply the 3M spray adhesive to the underside of the pump retaining clip mount and to the top around the semicircle hole as show below. Let stand for a few minutes as instructed by the glue canister
- unscrew the plastic mounting nut on the base of the level sensor switch and remove the rubber o-ring and set it aside as we’ll use that later for an easy diy pump water intake filter
- re-screw the plastic mounting nut onto the base of the level sensor switch just enough to slide over the thickness of the plastic pump retaining clip.
- Spray the adhesive glue along the inside of the plastic mounting nut as show and let sit a few minutes

- glue the water level sensor switch to the pump retaining clip mount
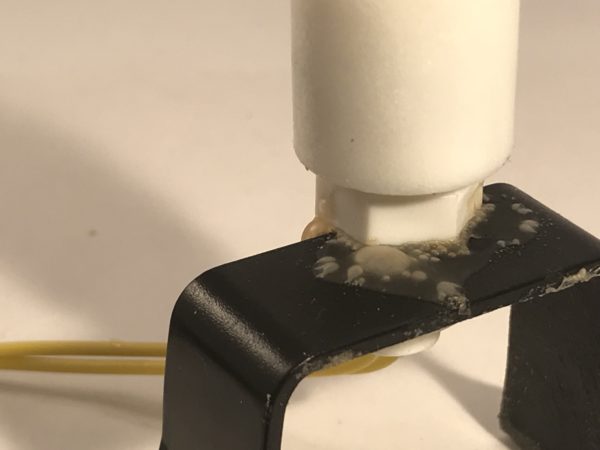
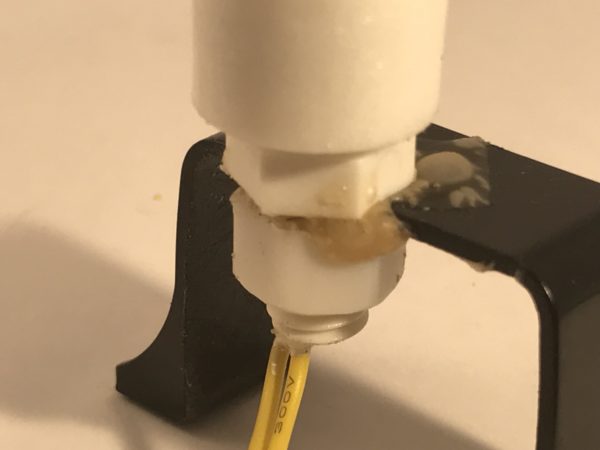
- allow the bonding adhesive dry for 10-15 minutes to secure the level switch to the pump retaining clip
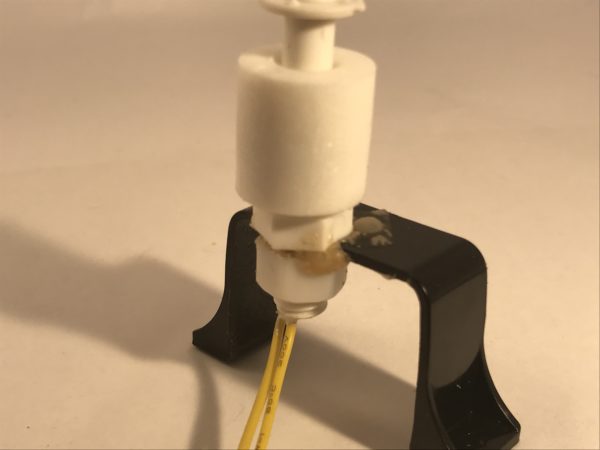
Step 3: Attach the Level Switch / Retaining Clip Assembly to the Water Pump
- next with the pump laying flat, spray the 3M spray adhesive around the three exposed edges of towards the rear of the as shown below on the left
- spray the 3M adhesive around the inside edges of the retaining clip assembly as shown above right
- allow the 3M bonding adhesive to rest for about a minute before attaching the level switch to the water pump
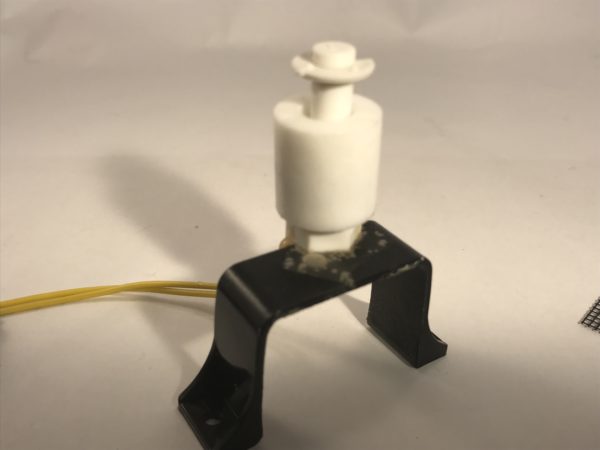
- attach the level switch assembly to the water pump by sliding the level switch pump retaining clip assembly down the rear of the pump as shown below

- allow the bonding adhesive dry for 10-15 minutes in order to secure the level switch assembly to the water pump
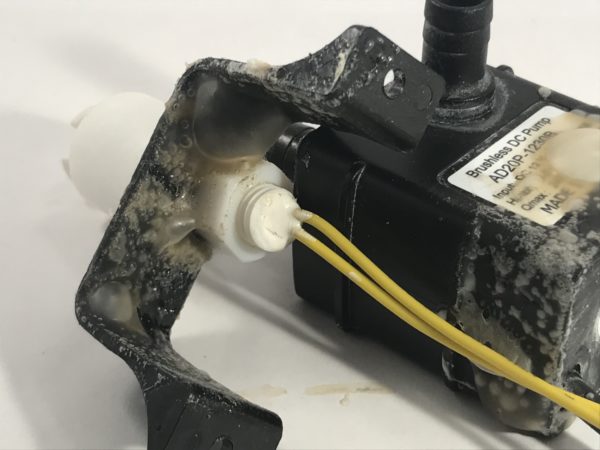
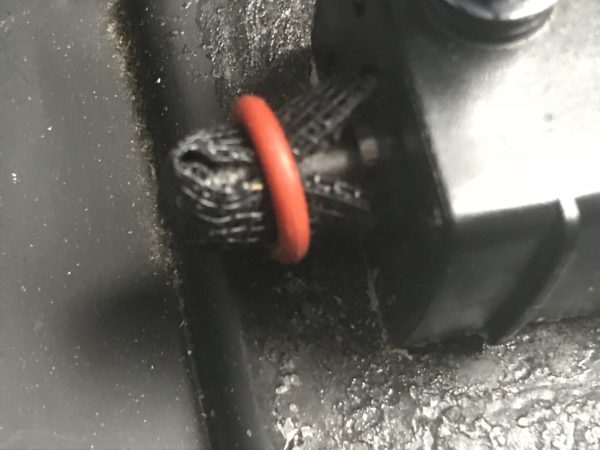
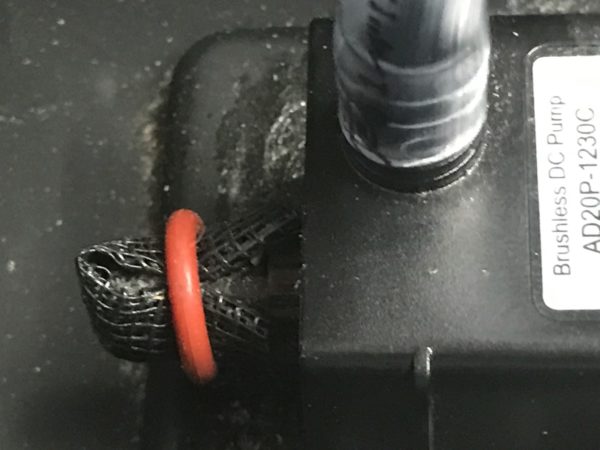
Step 4: Attach a Screen Filter to the Water Pump (optional)
- spray the 3M adhesive around the rim of the pump intake (where water flows in) and let set a minute
- fold the plastic screen in half and then fold it over the water intake of the pump as shown below, and then secure the screen in place with the rubber o-ring taken from the water level sensor switch – let dry for 10-15
Step 5: Attach the Watering Tube to the Submersible Pump
It’s best to attach the watering tube to the DIY submersible pump level switch assembly before the assembly is glued to the bottom a reservoir in order to prevent the assembly from detaching from the base of the reservoir after it has been securely glued down.
- attach the 1/4″ inner diameter tubing firmly to the top of the pump as shown below
Step 6: Install the Pump Level Switch Assembly to a Reservoir
Finally you can complete the DIY submersible water pump with level switch assembly installation by gluing it to the bottom of a reservoir.